How to Create Stylish Open Graph Images with OGPik

Visual presentation plays a key role in how users perceive your website on social media and messengers.
Open Graph images make your links more attractive, recognizable, and clickable.
In this guide, we’ll show you how to create a beautiful, branded Open Graph image for your website using OGPik — from background creation to full integration.
🟣 Step 1. Create a Beautiful Background
The background sets the overall mood and style of your image.
It can be soft and minimalistic or bright and eye-catching — choose what fits your brand best.
Go to gradients.app.
Here you can generate unique color palettes by clicking Generate palette until you find the one you like.
Once satisfied, click Download in FHD to get the image in high quality.
This will serve as the base for your future template.
🟢 Step 2. Optimize the Image Size
To ensure fast and smooth generation, the background image should not be too large.
You can easily compress it using tinypng.com.
Upload your file, wait for optimization, and then download the reduced version.
The visual quality will remain the same, but the file will be much smaller — perfect for OGPik.
🔵 Step 3. Choose the Right Font
The font defines the character of your visuals — professional, creative, or elegant.
You can browse free options at Google Fonts.
Pick your favorite style and download it — you’ll be able to upload it later inside the OGPik template editor.
🟠 Step 4. Set Up the Template in OGPik
Now it’s time to create your template and bring everything together.
- Log in to OGPik Admin Panel and create a new website.
- In the Defaults tab, upload your background image in the Background section.
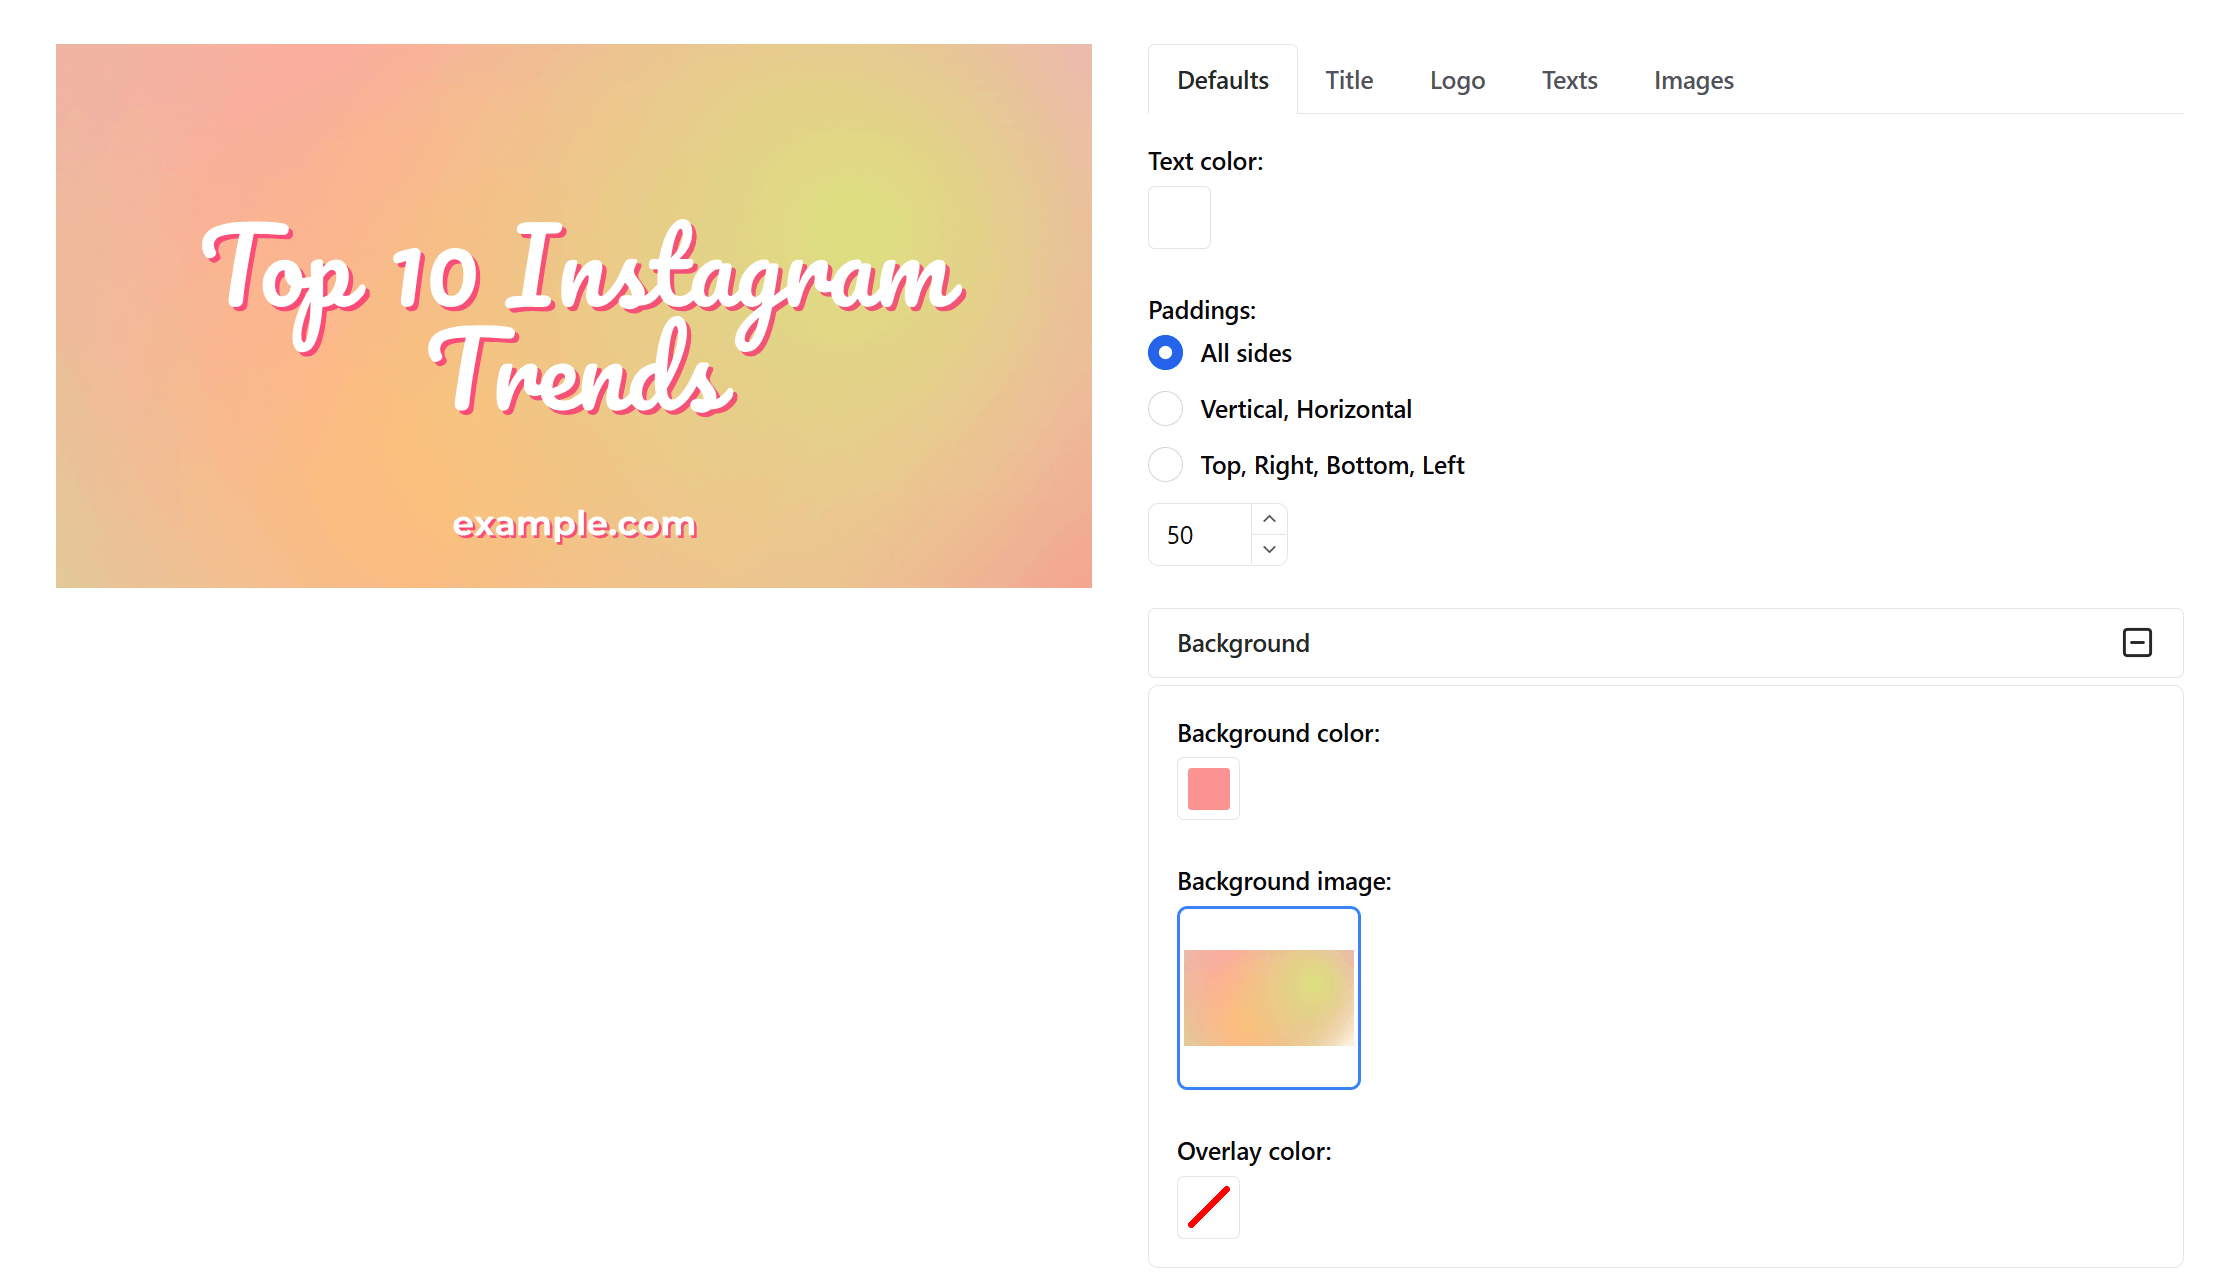
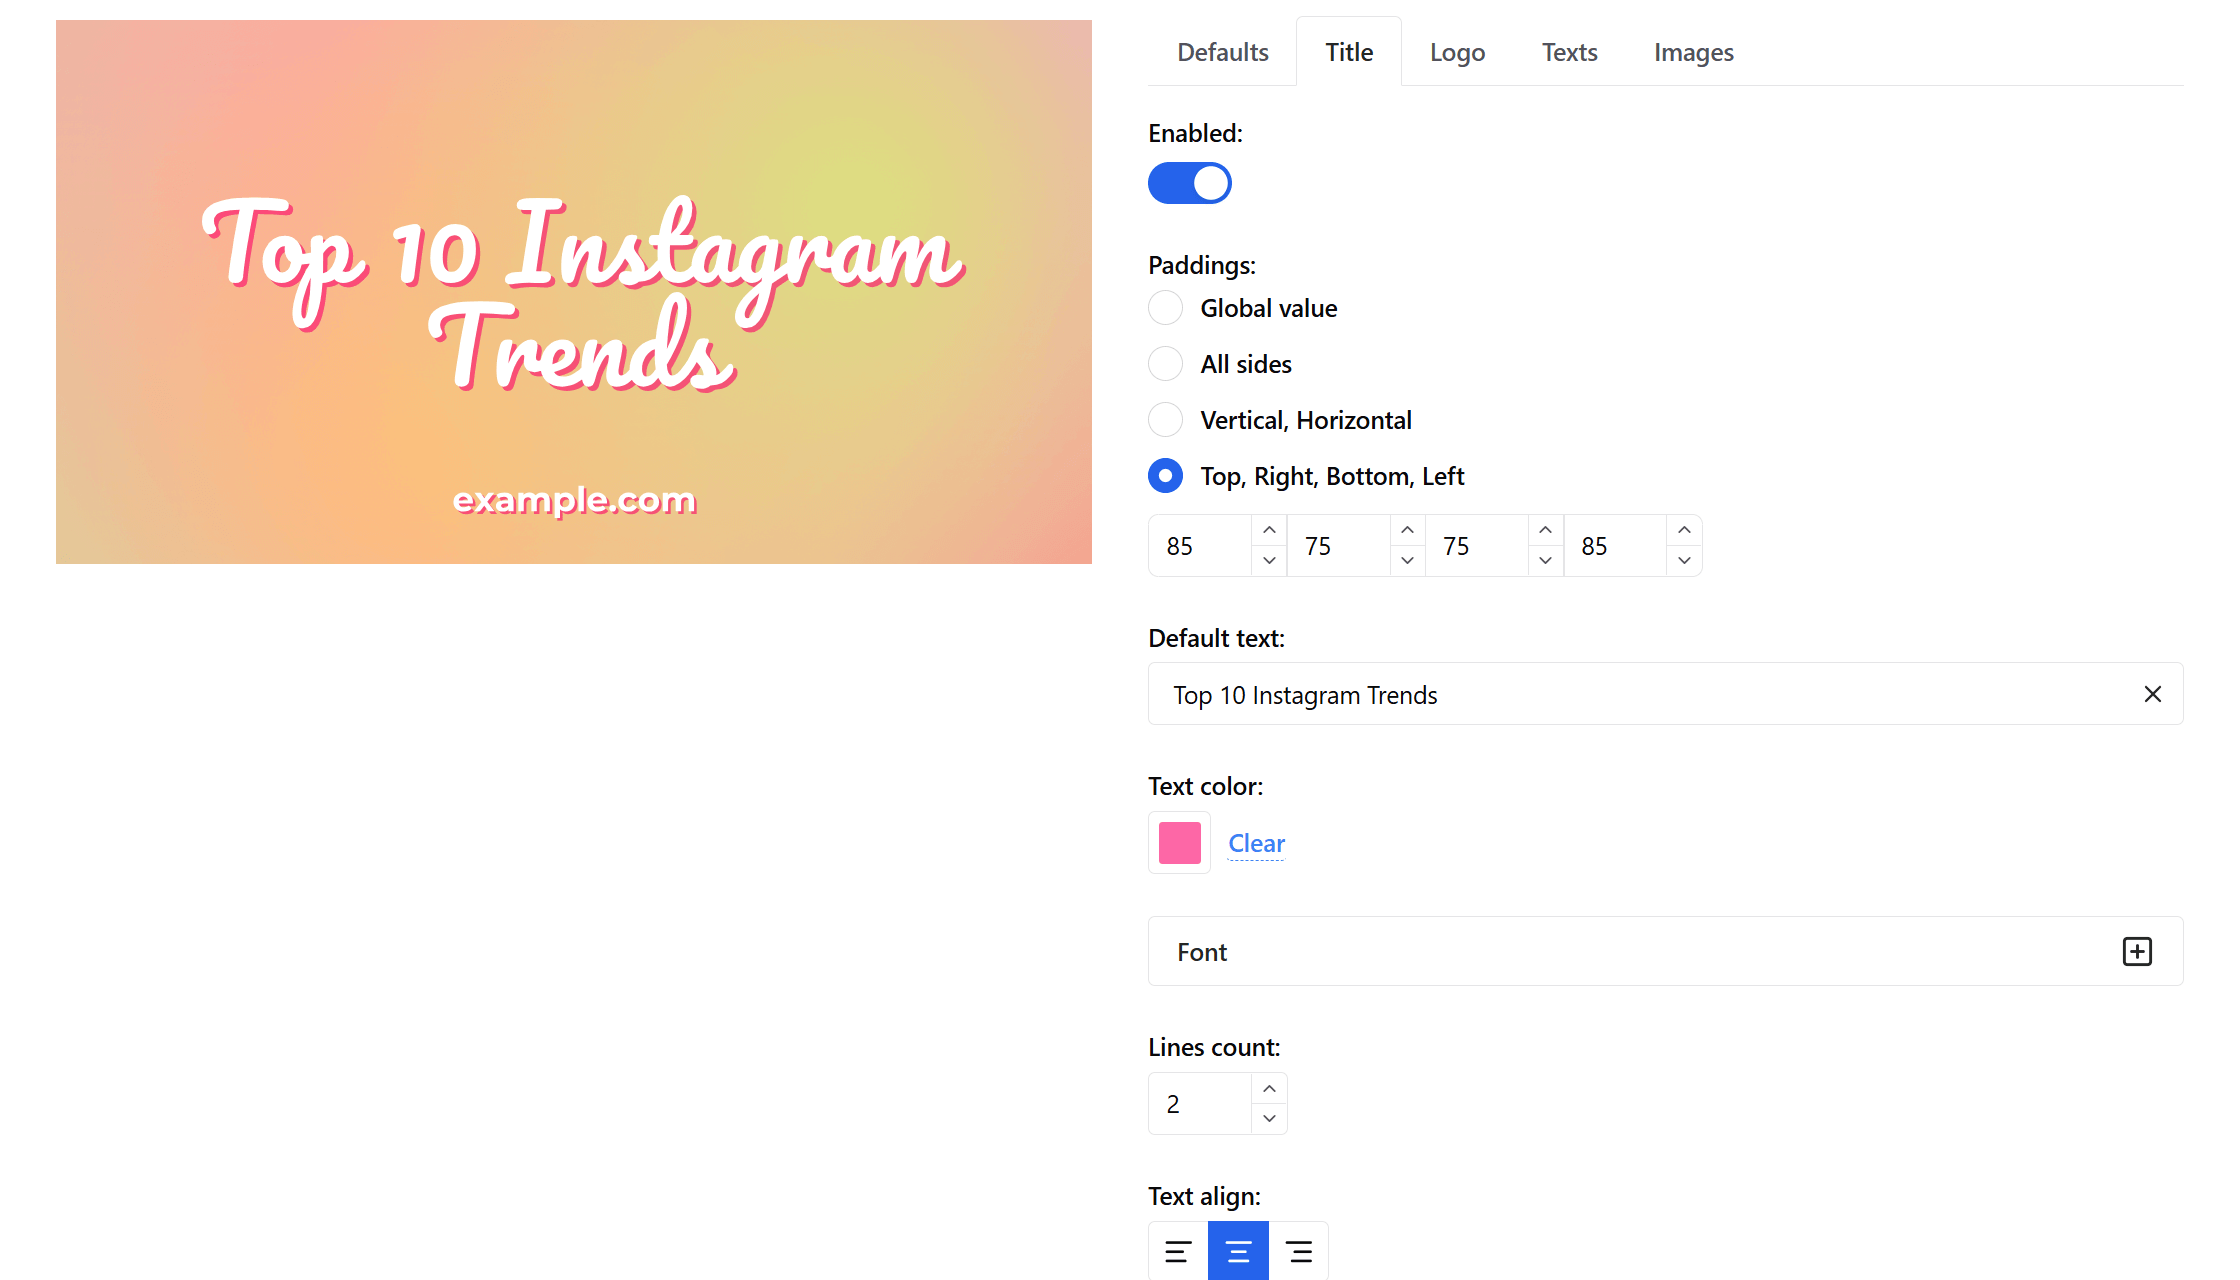
- Go to the Title tab — here you’ll configure your main title.
- Enter a sample text for preview.
- Adjust offsets — they create a shadow effect behind the title, adding depth to your image.
- Upload your chosen font.
- Set the color, size, weight, and position.
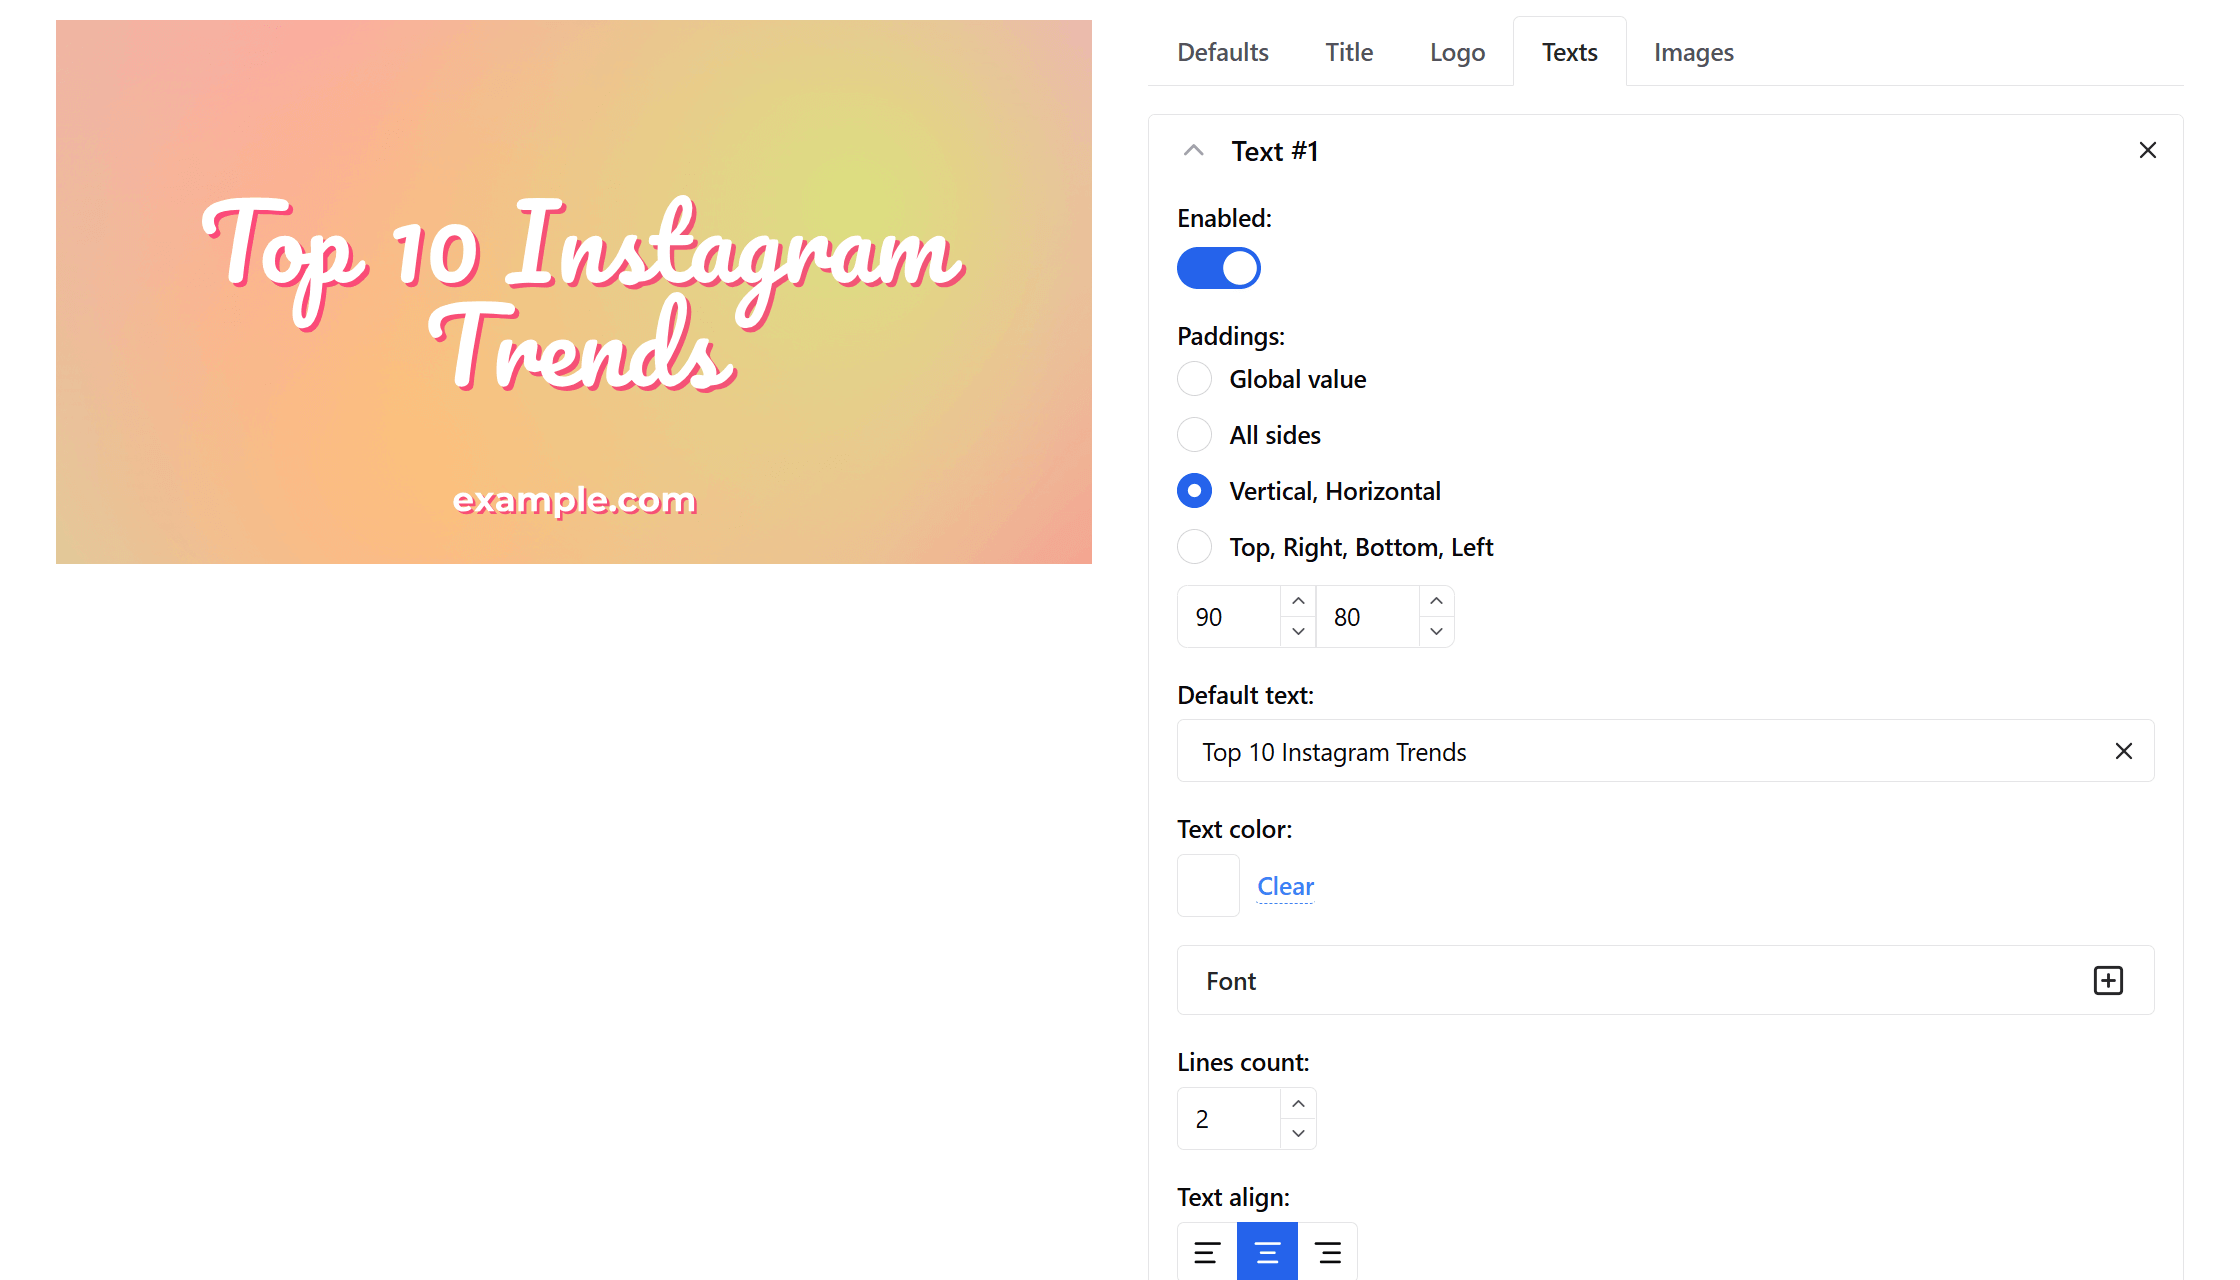
- Then, open the Texts tab.
Add Text #1 — it should duplicate the title but without offset.
For example, the Title layer might be pink (shadow), and Text #1 white (main text).
- Add Text #2 or Text #3 for extra info, like your website domain or tagline.
Adjust spacing and colors for a clean, professional look.
🟢 Step 5. Integrate with Your Website
When your template is ready, it’s time to connect OGPik to your site.
Simply add a small JSON schema to your page:
<script type="application/ogpik">
{
  "title": "Top 10 Instagram Trends",
  "texts": [
    "Top 10 Instagram Trends"
  ]
}
</script>
OGPik will read this data and automatically generate an Open Graph image based on your template.
The final image URL will look like this:
https://api.ogpik.com/generate/{uuid}/{path}/og.png
Where:
{uuid} — your website’s unique identifier from OGPik,
{path} — the page path (e.g. blog/trends/).
Once added, every page will automatically generate a stylish branded Open Graph image.
💡 Conclusion
With just a few simple steps, you can design and automate Open Graph images that make your website links stand out across social media and messengers.
OGPik makes it effortless to build a consistent visual identity — automatically.
🔗 Try it now: OGPik.com